TronLink is the most widely used wallet for interacting with the TRON (TRX) network. It allows users to send and receive TRX, stake tokens, and connect to TRON-based dApps directly from a browser extension or mobile app.
For better security, TronLink can be paired with a hardware wallet such as Ledger Flex. This setup keeps your private keys stored safely on the hardware device while still allowing you to use TronLink’s features like sending TRX, staking, and interacting with decentralized applications.
In this guide, we’ll show you how to connect Ledger Flex to TronLink step by step so you can securely manage your TRX.
Helpful TRON Wallet Guides
- 7 Best Tron (TRX) Wallets to Use in 2026
- 5 Best Tron Staking Wallets to Stake TRX in 2026
- 7 Best Hardware Wallets for Tron TRX in 2026
Connecting Ledger Flex to TronLink (Step-by-Step)
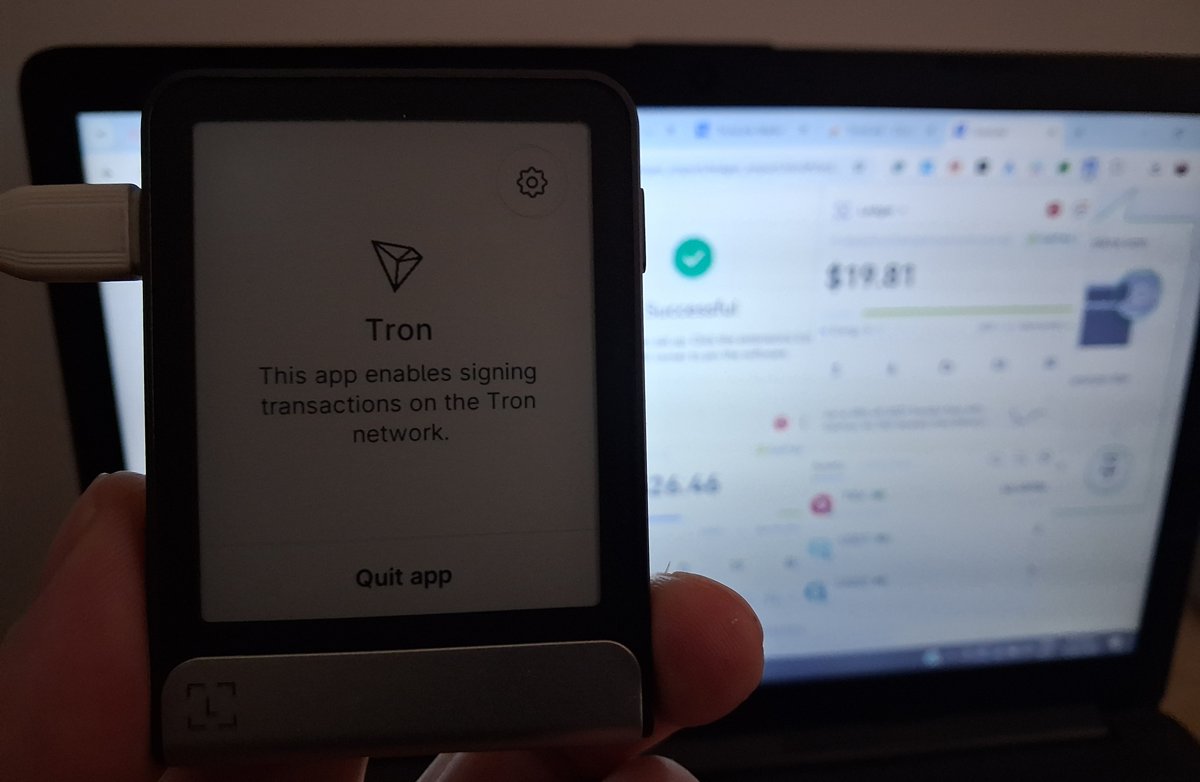
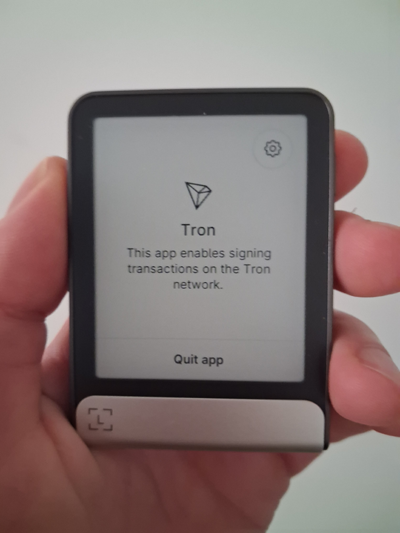
1. Make sure you have installed the Tron app in Ledger Live. Once installed, it will appear on your Ledger Flex device like in the image below.
2. Install TronLink extension for Chrome (or other supported browsers)
3. Connect your Ledger Flex to your computer and make sure the Tron app is open on the device.
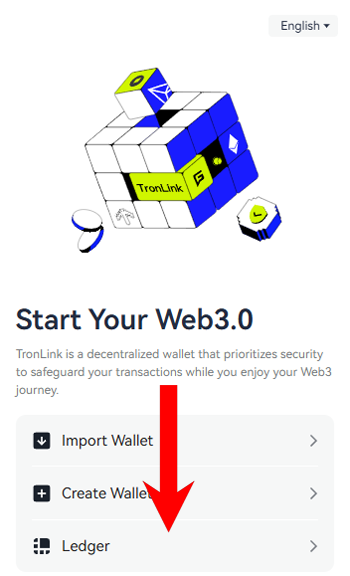
4. In TronLink click on Ledger.
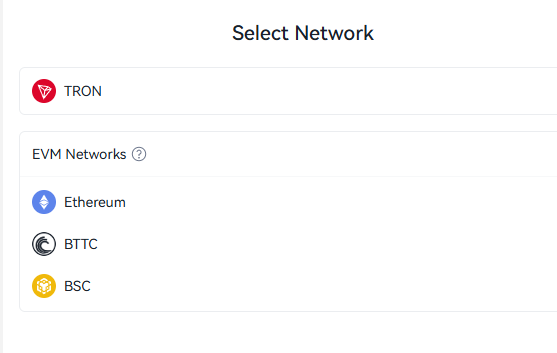
5. For Network, select Tron.
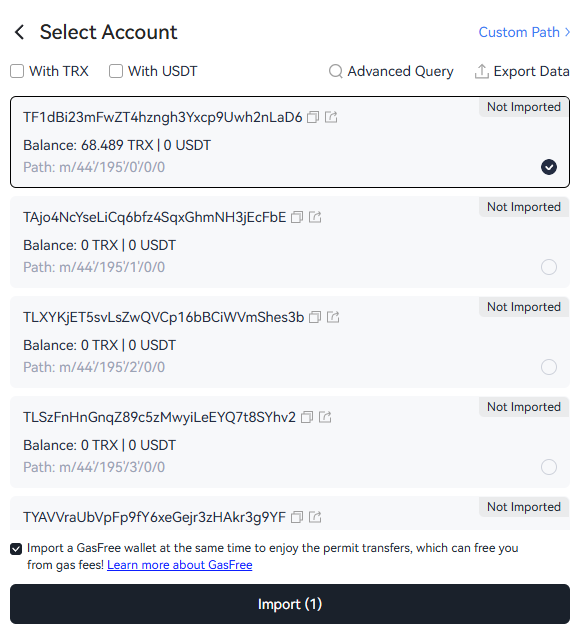
6. Select the account you want to import into TronLink. In this example, I’ll choose the first account.
7. Choose password.
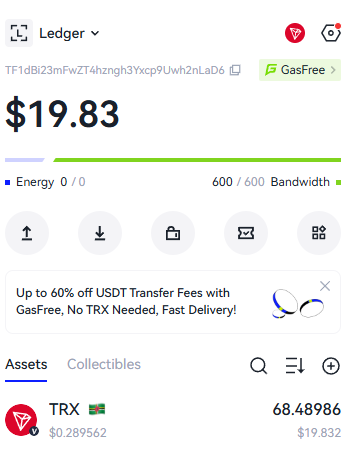
8. Thats it. You can now use all features of the TronLink wallet with the security of the Flex hardware wallet.
Want to explore more wallet setup guides? Visit our Crypto Wallet Tutorials Hub, where we publish step-by-step tutorials for connecting hardware wallets, setting up crypto wallets, and managing digital assets securely.